RNA-Seq:Main Page
This page is intended to provide participants of the RNA-Seq workshop with the pre-workshop information. For detailed information about the PMACS HPC go to our main page
Contents
- 1 Basic information
- 2 Important Links
- 3 Connecting to the demo environment
- 3.1 Setup information for GNU/Linux and Mac OSX Users
- 3.2 Setup information for Windows Users
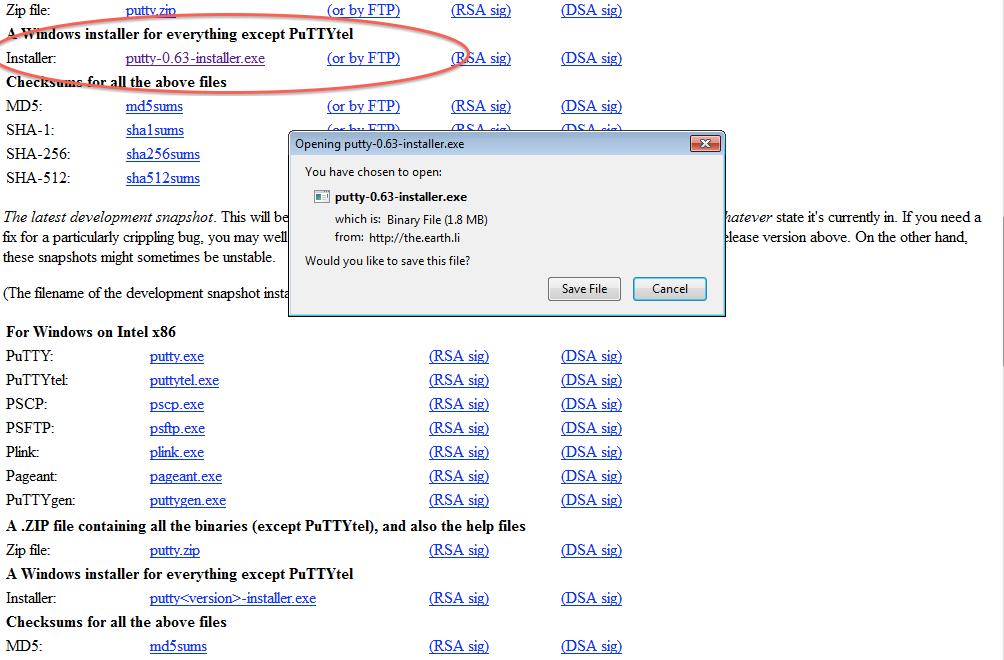
- 3.2.1 Step 1: Download and install the PuTTY full installer (if you don't already have it installed)
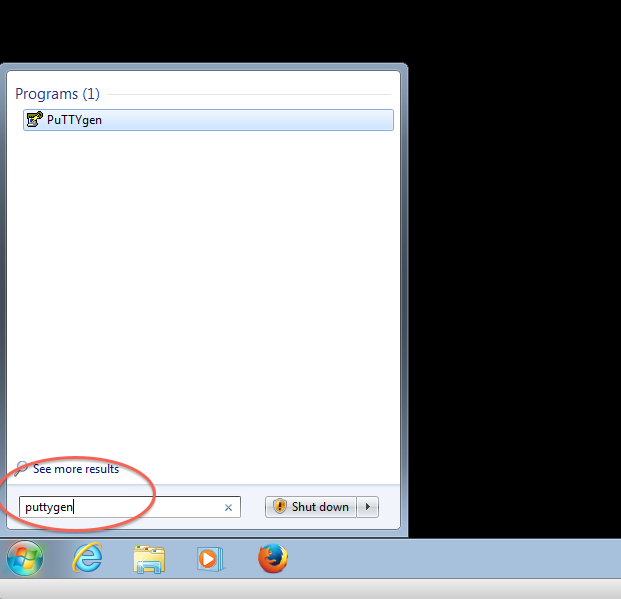
- 3.2.2 Step 2: Generate Keypair and save a copy of both the Public and Private keys
- 3.2.3 Step 3: Configure PuTTY to use the keys that were generated above
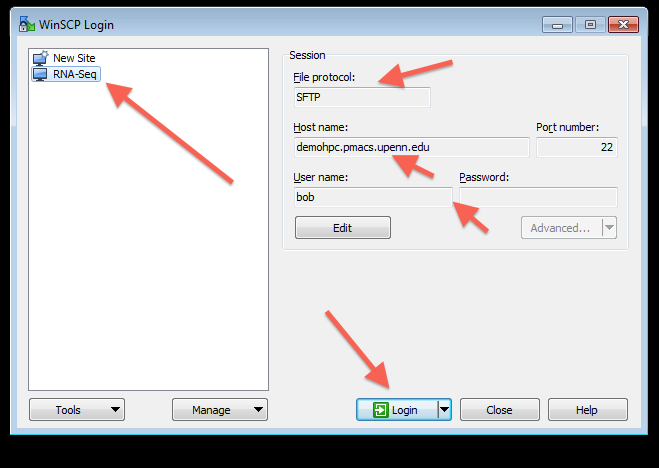
- 3.2.4 Step 4: Install and configure WinSCP to use the PuTTY profile created above
Basic information
The RNA-Seq workshop is a day long workshop with the intent of showing participants how to use specific tools commonly used for RNA-Seq analysis. The workshop is of the hands-on kind where participants will have access to prepackaged code and a few sample datasets. All the exercises will be done in a demo environment that closely resembles the live PMACS HPC environment. Familiarity with working at the UNIX command line is a requirement as all the work will be done from the command line. Participants will need to bring their laptops to the workshop in order to connect to the demo environment.
Important Links
Connecting to the demo environment
Secure shell (ssh) is the only supported method of connecting to the demo environment. The login machine name is demohpc.pmacs.upenn.edu. All participant will need to use Public keys to access the demo environment. Below are instructions on how to create Public-Private keys on GNU/Linux, Mac OSX and Windows systems.
Note: While there are several SSH clients available for all platforms. We only show instructions for and are able to support the usage of the following tools.
GNU/Linux or Mac OSX:
- ssh via built-in terminal emulator program
- File transfer via either command line (scp) or FileZilla
Windows:
- ssh via PuTTY
- File transfer (SCP/SFTP) via WinSCP
If you have a preference for a different ssh client or file transfer program, please ensure that you know how to configure it to use Public Key Authenticaion before the workshop.
Setup information for GNU/Linux and Mac OSX Users
Summary of tasks:
- Verify that you haven't already generated a Public-Priviate keypair (look inside the .ssh directory in your home area)
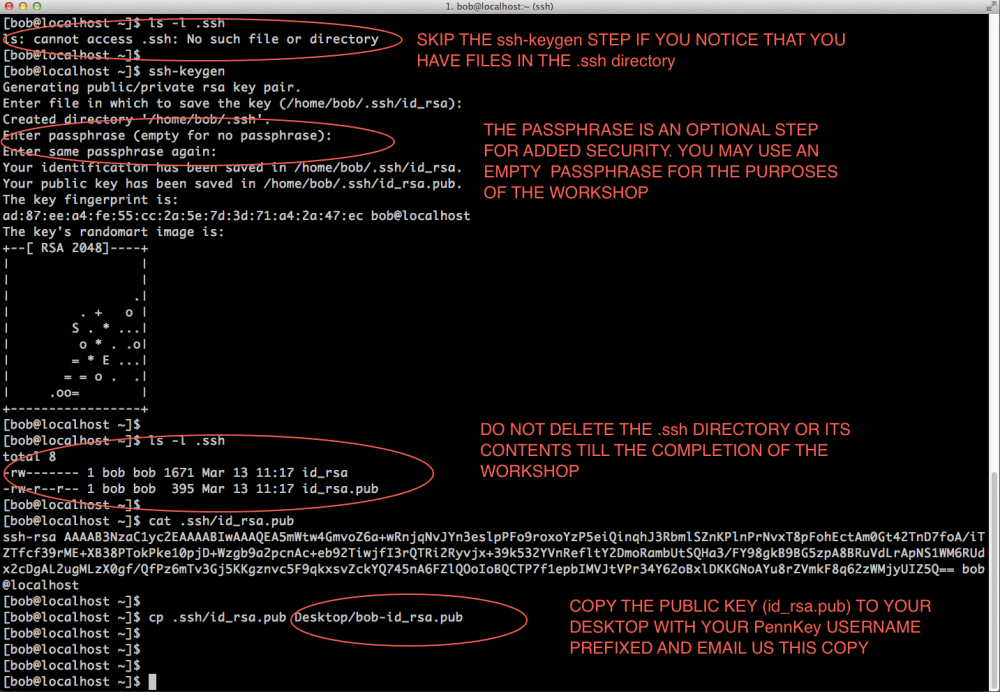
- If don't have keys, open a terminal and run the ssh-keygen command and follow the on-screen instructions refer picture below.
- If you do have keys, copy the id_rsa.pub key to your desktop as username-id_rsa.pub where username is your PennKey username
- Email this file as an attachment to Workshop Instructor (please don't paste the contents of the file in the email).
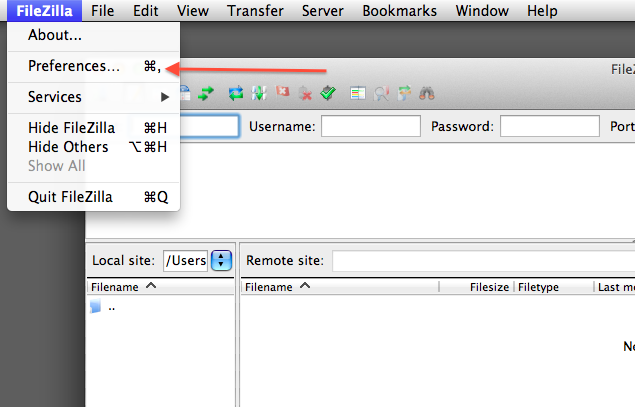
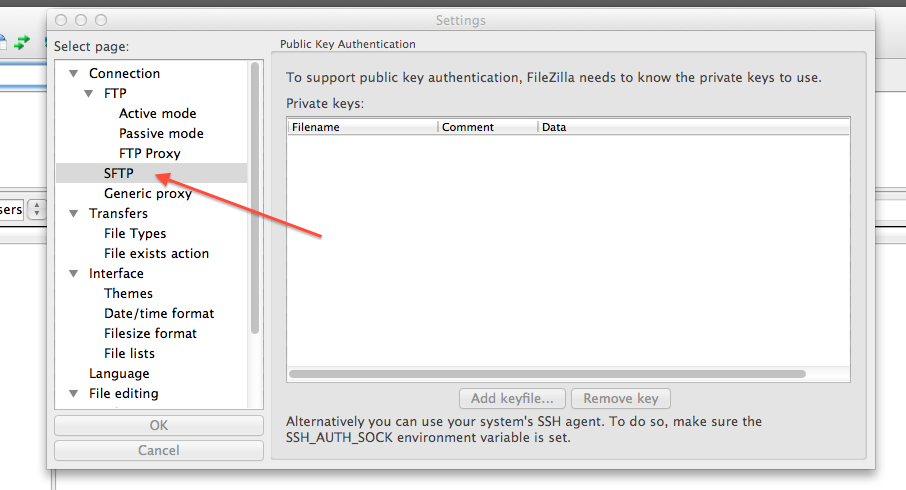
- Configure FileZilla/Cyberduck to use the newly generated keys
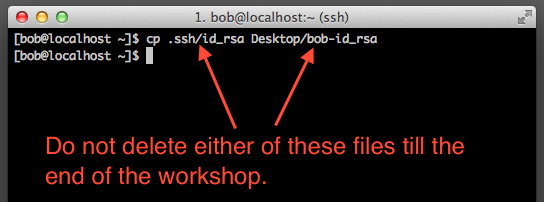
- Do not delete either the Public or Private key till after the workshop
SSH key generation and testing connection to the demo environment
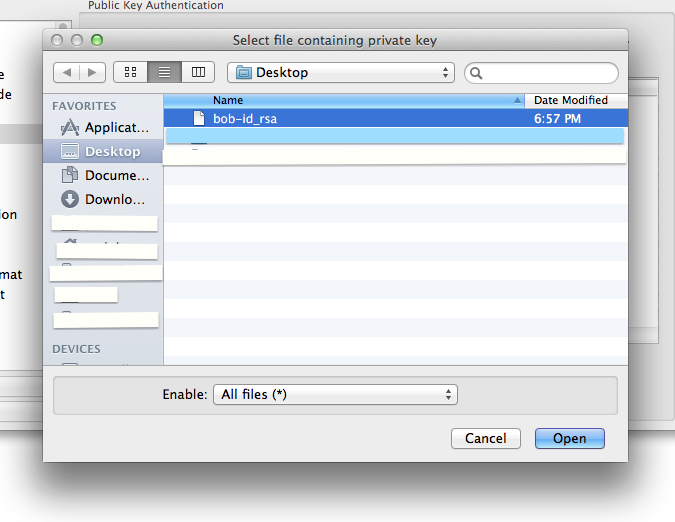
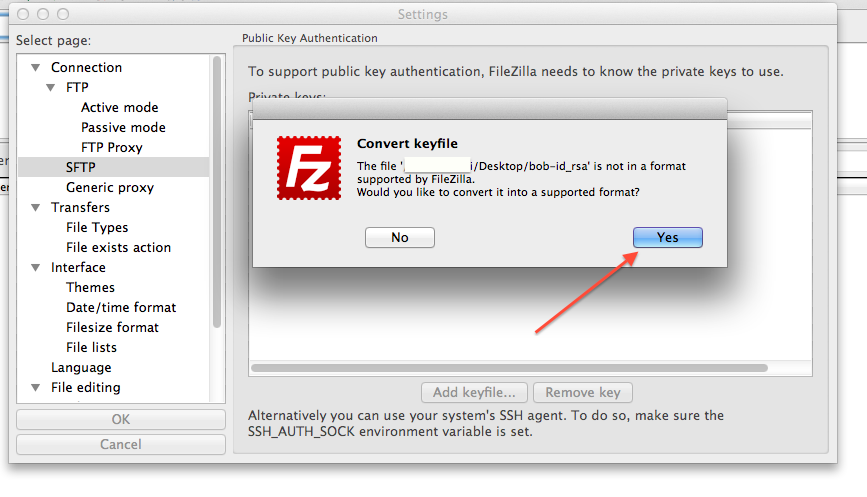
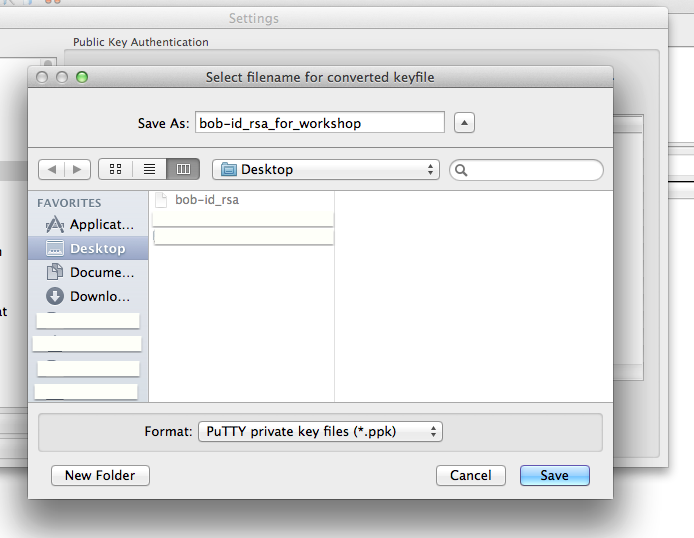
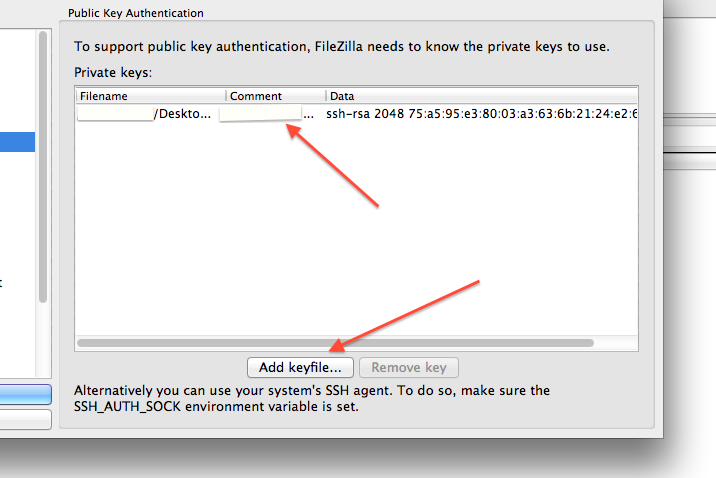
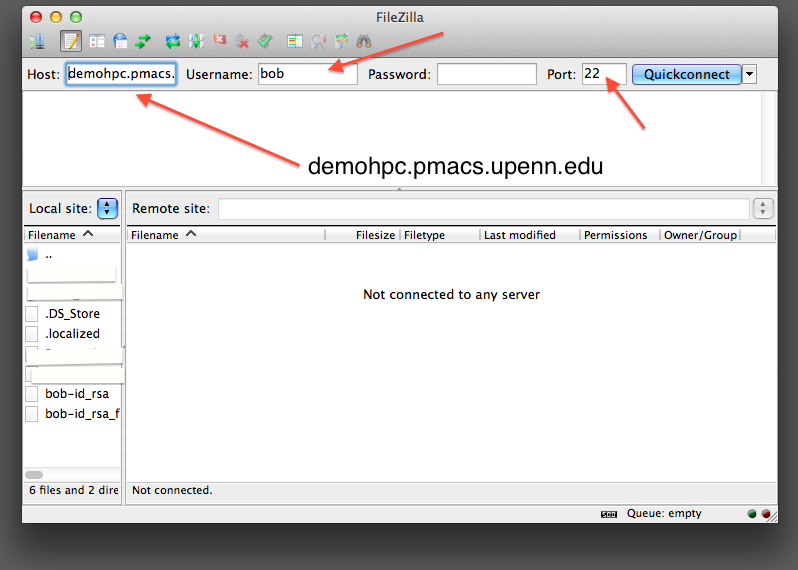
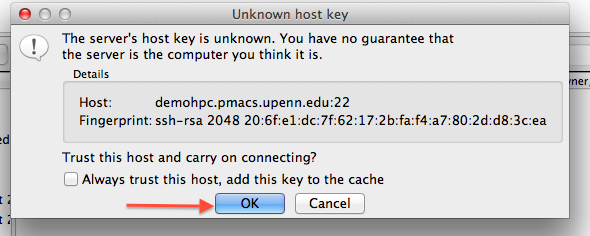
FileZilla setup for copying files from demo environment
Setup information for Windows Users
Summary of steps
- Verify that you haven't already generated a Public-Priviate keypair (if you haven't used keys before, its safe to assume you don't have a key pair already)
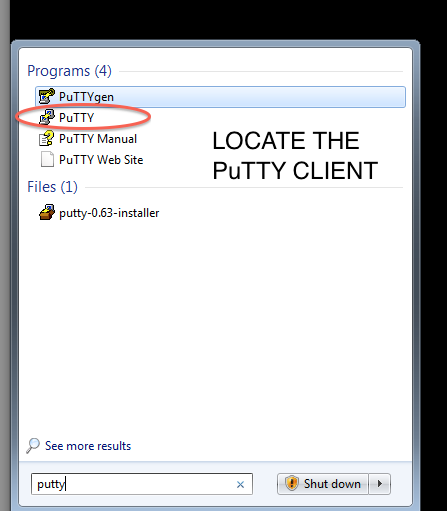
- If you haven't installed PuTTY (the full installer), you can download and install it from here
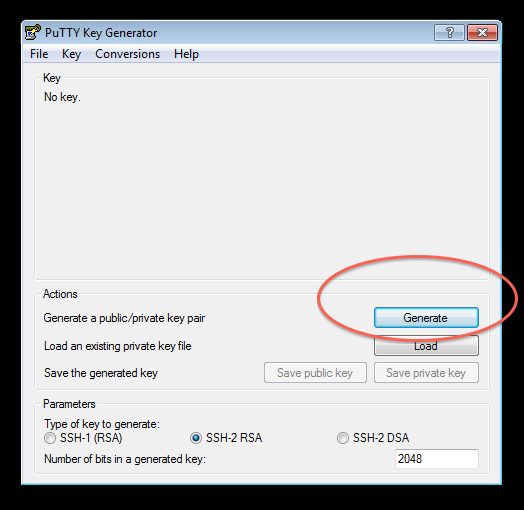
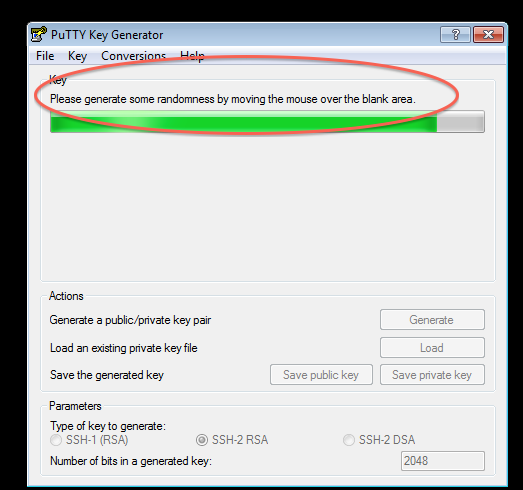
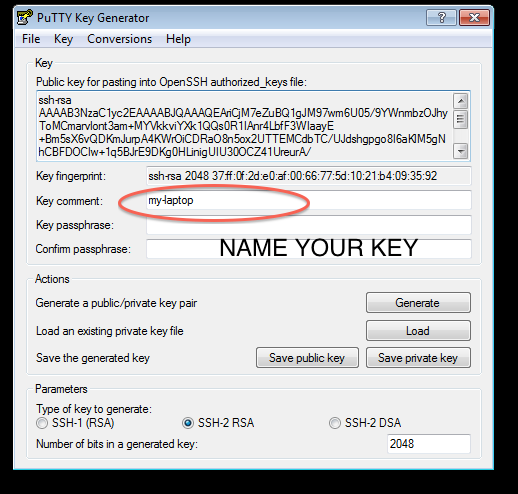
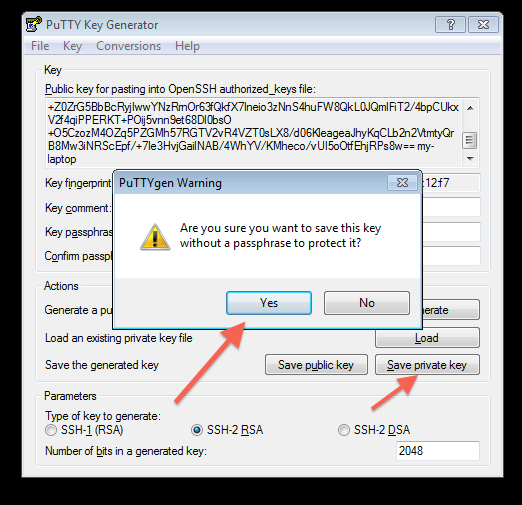
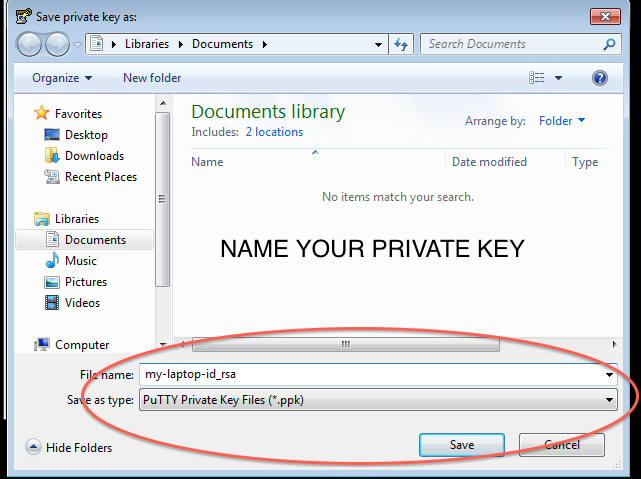
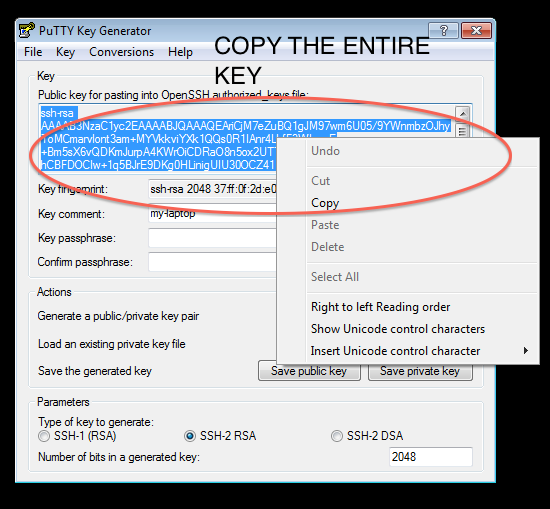
- Once installed, PuttyGen should be used to generate and save a PuTTy compatible Public-Private keypair
- PuTTY will be configured to use the generated keypair
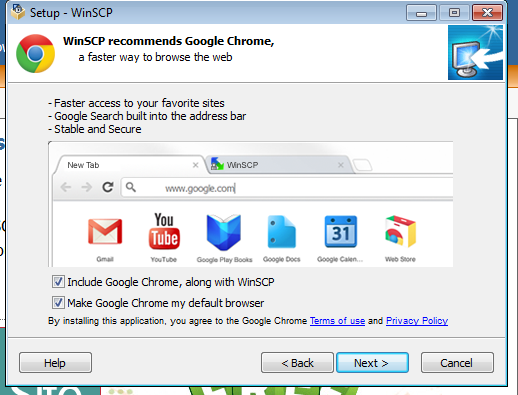
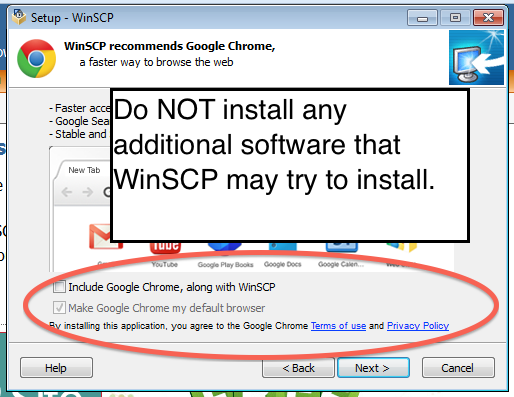
- Install WinSCP for file transfer. WinSCP can be downloaded from here
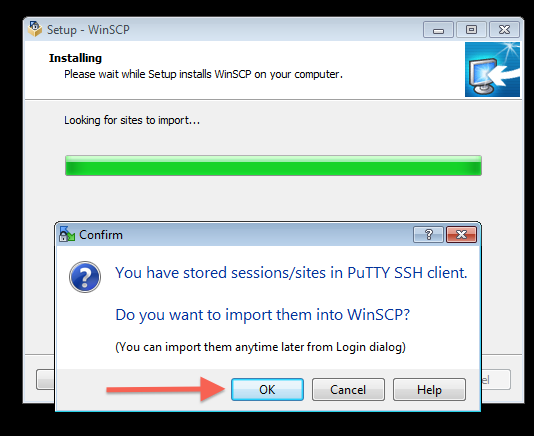
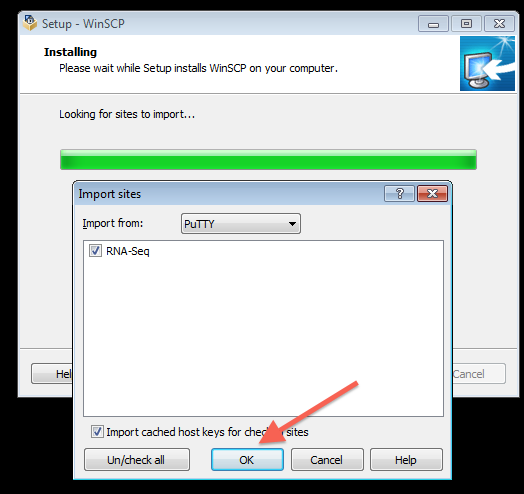
- Import the PuTTY compatible keys and profile into WinSCP
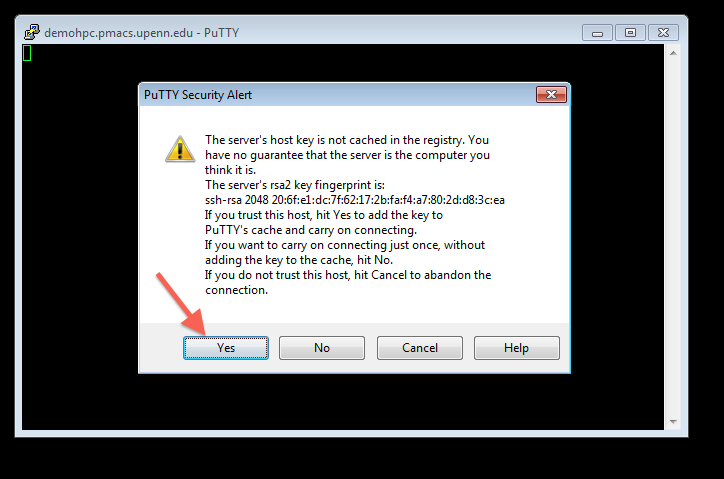
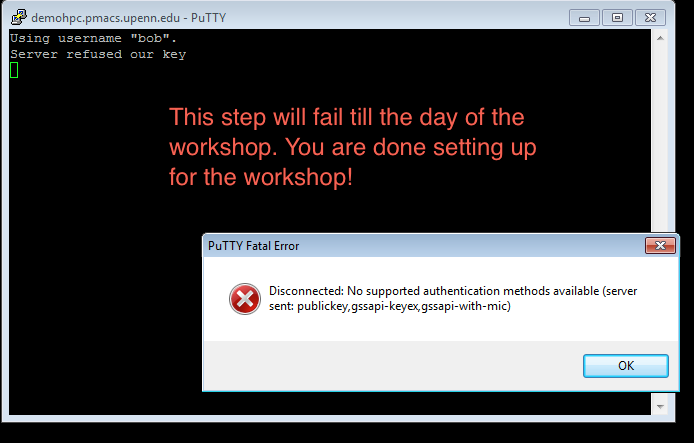
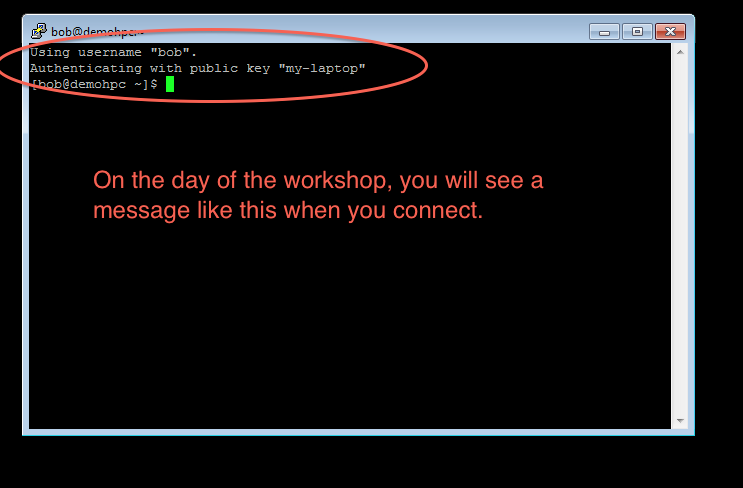
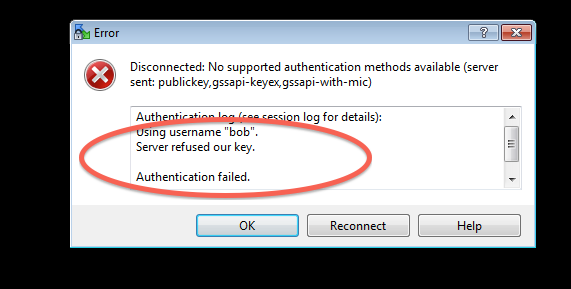
- Test the connection
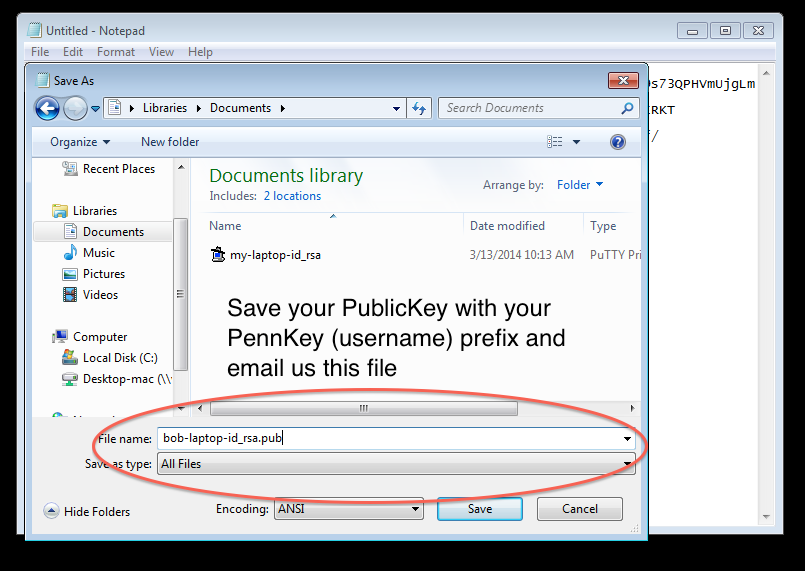
- Email only the Public key as an attachment to Workshop Instructor (please don't paste the contents of the file in the email).
- Do not delete either the Public or the Private key till after the workshop
Step 1: Download and install the PuTTY full installer (if you don't already have it installed)
Step 2: Generate Keypair and save a copy of both the Public and Private keys
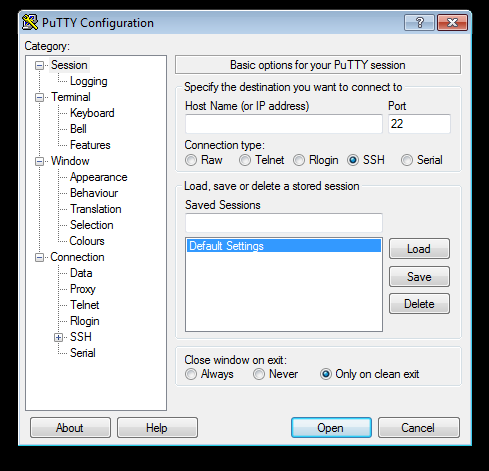
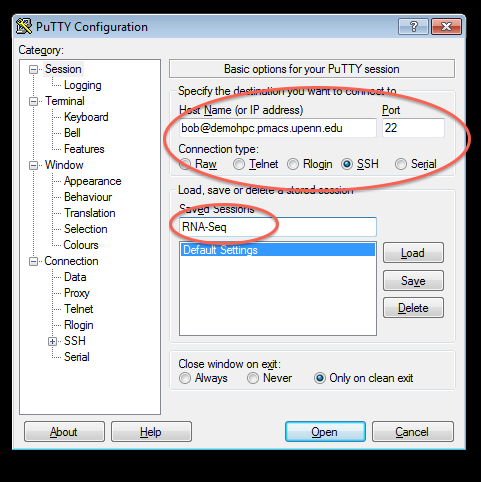
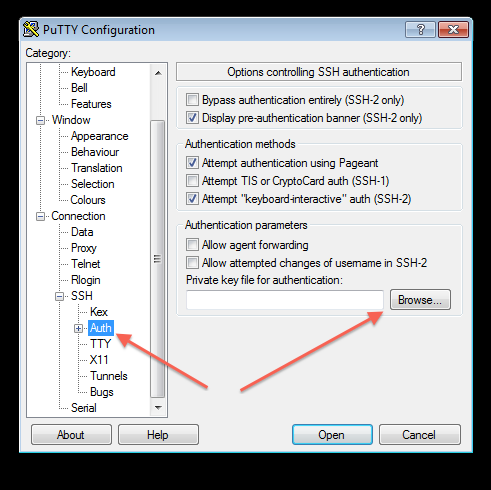
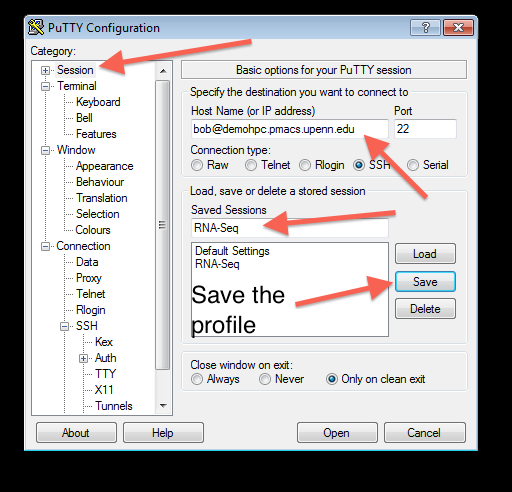
Step 3: Configure PuTTY to use the keys that were generated above
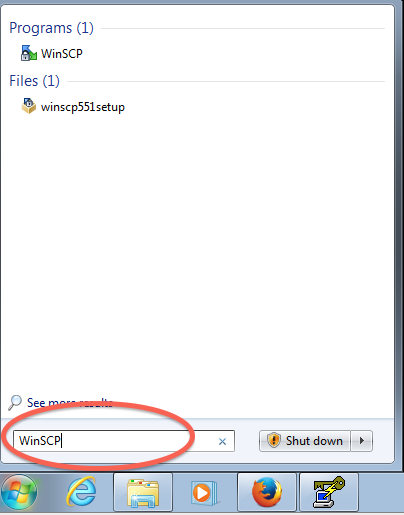
Step 4: Install and configure WinSCP to use the PuTTY profile created above

